

What is Git?
Git is software for tracking changes in any set of files, usually used for coordinating work among programmers collaboratively developing source code during software development. Its goals include speed, data integrity, and support for distributed, non-linear workflows.Git is a free and open source distributed version control system designed to handle everything from small to very large projects with speed and efficiency.
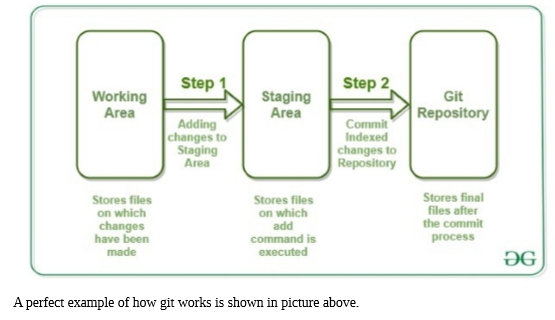
In this tutorial we are going to learn how to push and pull a simple html code from git to github.
Let`s get started
we need to create a simple html file in our favourite code editor so, in this tutorial I will be using visual studio code.
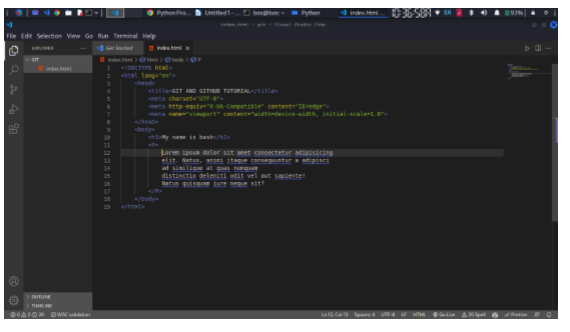
As we`ve created a simple html page the next thing to do is to create a repo (repository).
What is a repository?
A repo is a local storage location for our file to be stored.The main functions of a repository are to host internal files, or collect groups of files into a single endpoint.
Now, back to our Vscode to a repo for our html we need to navigate to terminal or ctrl +`
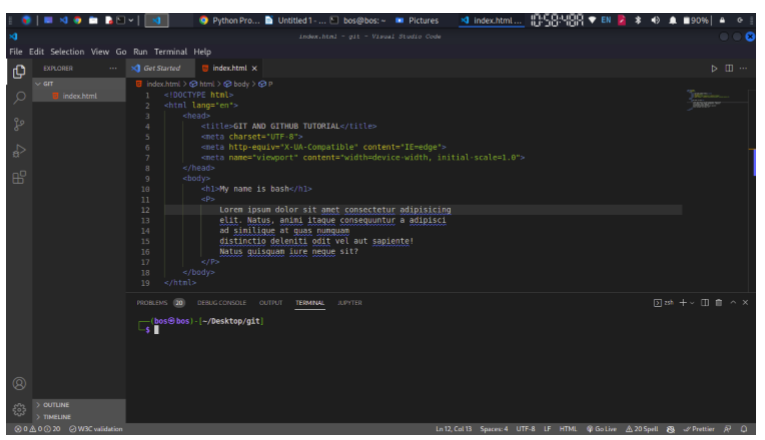
let type git init in our terminal to finally create a repo . NB: this will create a folder in our directory and it is hidden by default
Before we proceed we need to configure our git so as to prevent unpredictive error by adding this two command to our terminal one after the other
NB: please make sure add valid email that is attached to github account while entering this first command( git config –global user.email ” youremail@example.com ” )
git config –global user.email ” youremail@example.com ” git config –global user.name ”Your Name
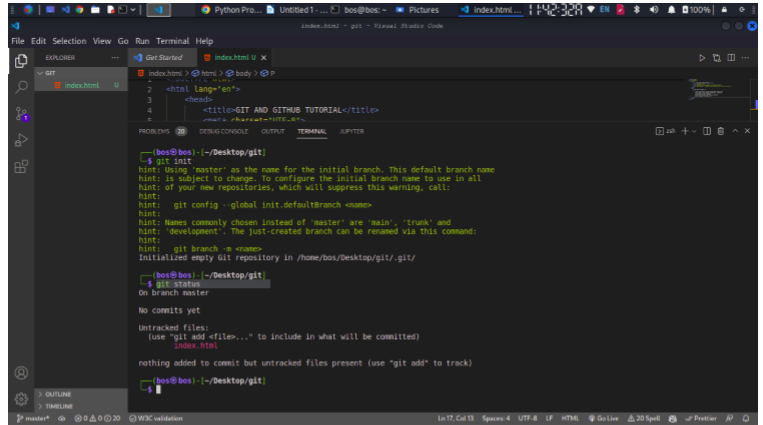
as shown in the picture above in our terminal and git is telling us that our file is untracked also the index.html is in red color
To add the file to our to repo let type git add . This comand will add all existing file in in our vscode even if they one or more

as shown above after typing the ( git add .) to add to our repo we can also revert back to our previous command to check the status by typing ( git status ) as we can see in the terminal the color has been changed to green.
the next step is to check the status of index.html file whether it been added to our repo. Let type git status in our terminal
Next step commit our changes that has been added by typing this next command git commit -m “ ”
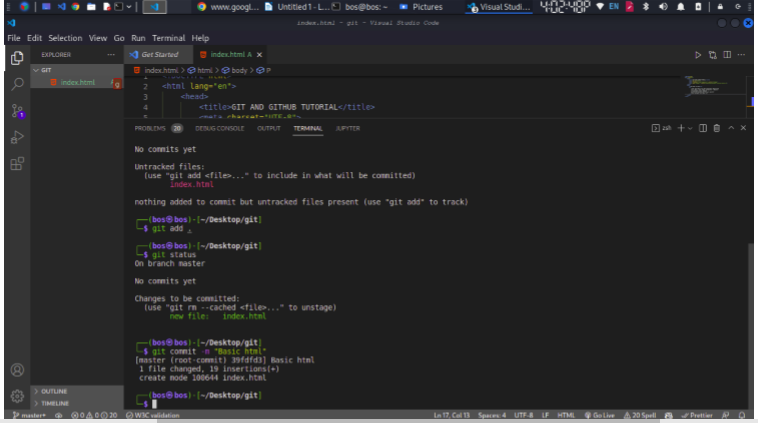
NB: As shown above make sure you insert a message relating to the changes you commited inside the double quotation(i.e git commit -m “ basic- html” )
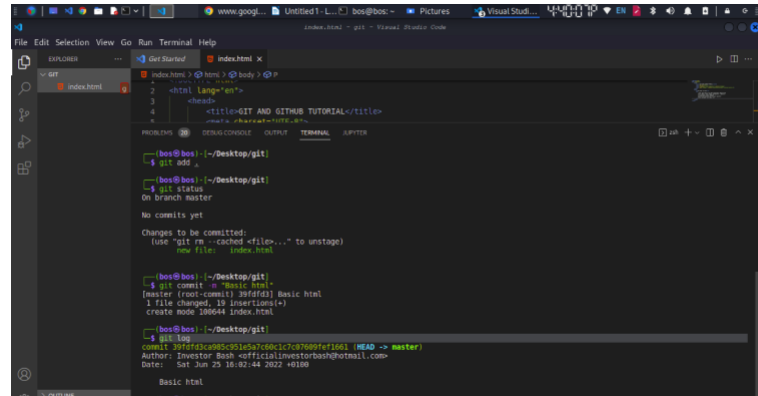
The next thing to do is to check the the history or the logs that has been commited by typing git log as shown below, which will show our commit message and other information like day & time with a commit id in yellow color.
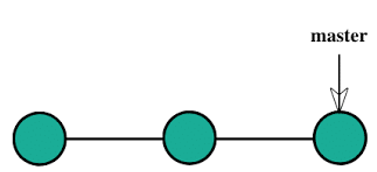
Next command to talk about is git branch. Branching allow developer to diverge out the original code base and isolate their work from the main. We can think of branch as a scenario whereby we working on particular feautures or update on a project and there`s no certainty that it will contain no bugs, instead of adding this type of update or features to our main branch (master), we can easily create a separate branch which could be easily added later to our main branch.
A perfect example of branch in git is shown below
To create a branch type git checkout -b name-of- you-branch
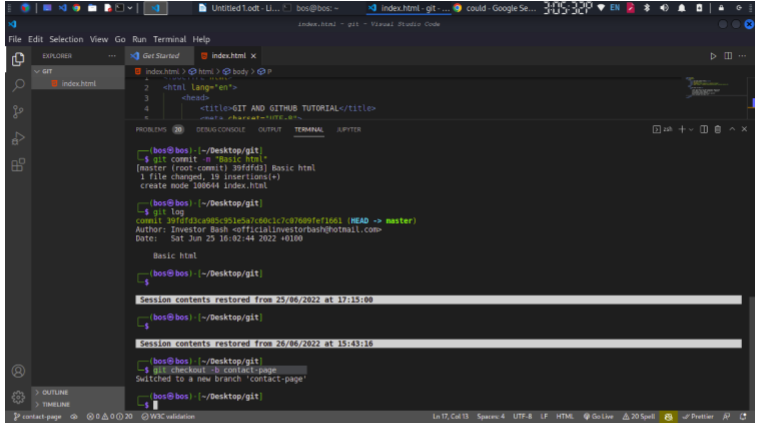
NB: This command will create a branch and switch to the branch automatically. Any update or change made to this branch will never be reflected to other branch unless you marge.
Type git branch –-show-current to show the current branch. We can also use this command to switch between branches git checkout branch-name note that after git checkout next should be your branch name (in my case git checkout master ) which will switch to my master branch.
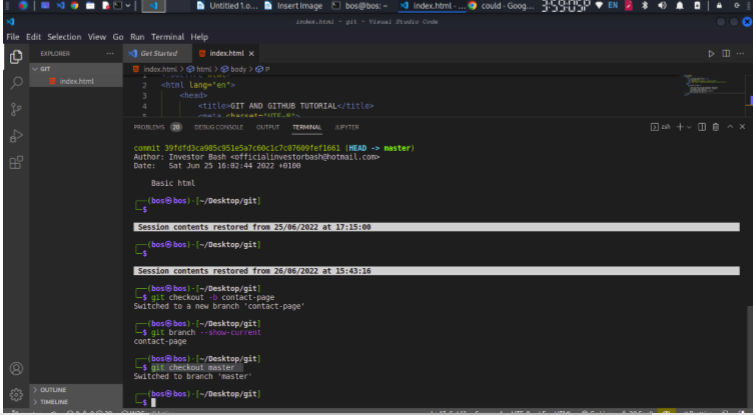
The last but not least thing I will mention in gith before moving to github is how to merge a branch to others. Make sure switch to your master or main branch before merging other branches to it. Type git merge name-of-branch-you-were-to-merge

What is Github?
Github is an online version of git, which simply means it is an online version control system thats help developers store, track and manage changes to a project source codes.
The next step is how do we move our local git files to github. Let go to our favourite browser and navigate to github.com set up an account usin g email and password. Once done click on new to creat online repo then fill the necessary info
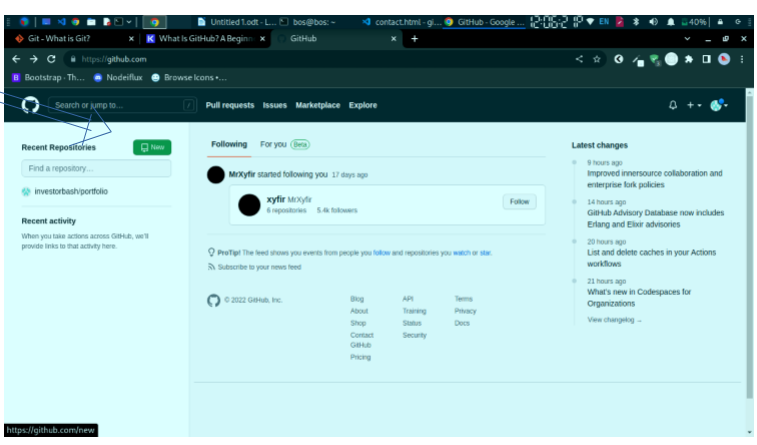


After creating a repository the next step is to copy the link of our online repo and let`s make sure we copy the one of https not ssh

After that we need to navigate back to our terminal in vscode so as to push our local repo to online (github) by typing this few command in our terminal git remote add name
NB: it`s mandatory to assign a name to our url we copied from github so as to avoid conflict incaseof adding or pushing it to another github repo entirely.

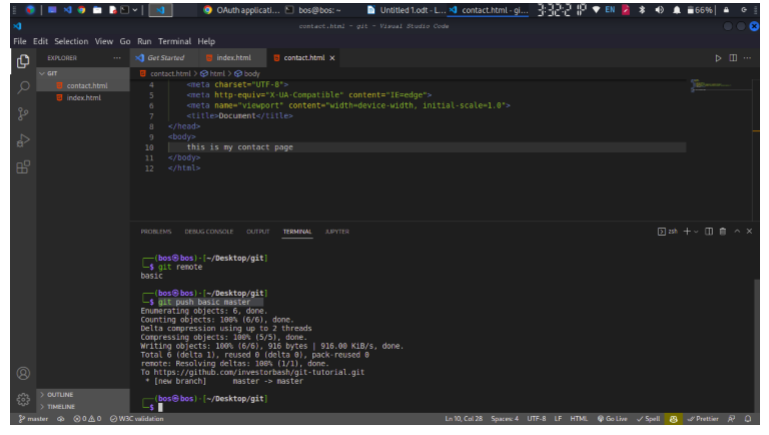
The above picture has shown how we connect our local repo to online repo. To chech the remote link type git remote -v and to check the name assign to those link type just git remote as shown below

Finally to push our entire git to github, commad is git push then the name we assign to out online repo and the name of branch we are to push (e.g git push basic master ). Refresh the github repo page to see the update
NB: Once you type above command you need to authorised that using your github password.
Let assume we made to a changes to our code online (on github), we could easily match the update with our local repo with this commad git pull name-of – our-remote branch-name e.g git pull basic master .